
Installing n8n On CachyOS Using Podman
Hi all, I’ll be writing a guide that will help you install n8n on CachyOS or Arch-based Linux. For this guide, I am using Podman over Docker. Podman is rootless by default so that if a hacker gains access to your n8n, he or she does not have access to the entire host system. This makes it safer and more secure, while Docker is more established.
I am also using “podman-compose.yml” over “podman run -d” as I find “podman-compose.yml” to be much simpler to keep track of. The difference between “podman-compose.yml” and “podman run -d” is that you can write all the commands into “podman-compose.yml” and then start it up by using the “podman-compose up -d”. Whereas, for “podman run -d”, you need to type everything out one by one and run it one by one.
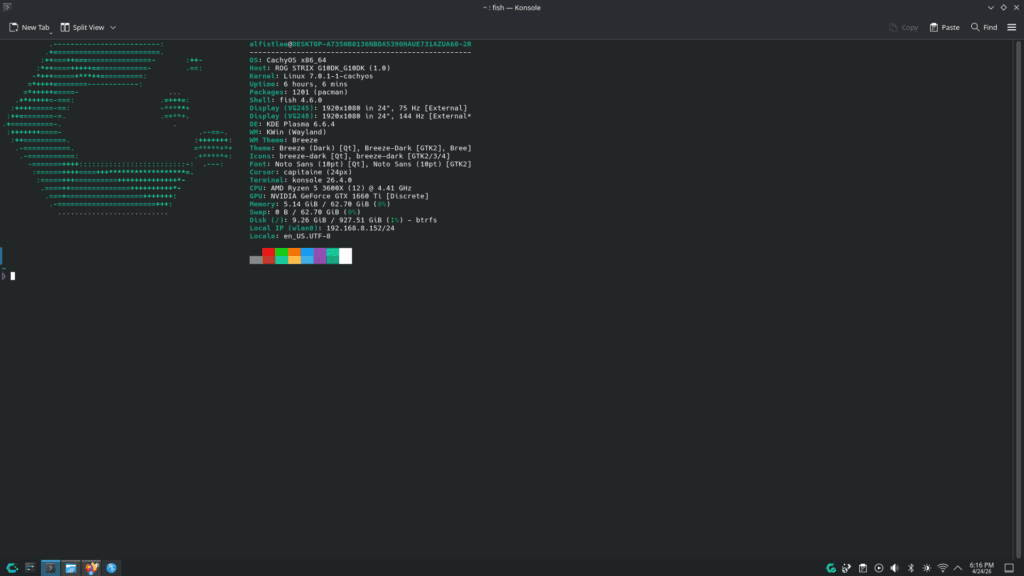
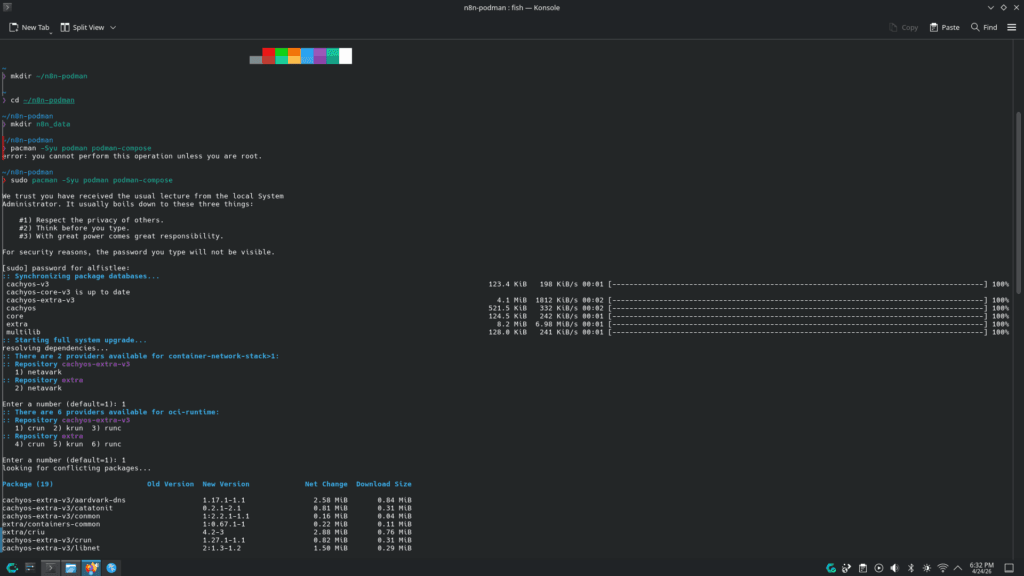
Start up the terminal for CachyOS. It’s called Konsole. We need to first make a directory for n8n. So type in “mkdir ~/n8n-podman”. This will make a folder named n8n-podman. We need to go to the folder that we just created using “cd ~/n8n-podman”
Once you are elevated to /n8n-podman, we need to make a directory called “n8n_data”. All of your saved n8n data will go to this folder. Next, we will be installing podman engine and also the community tool. Podman is a type of compartmentalized container that operates in an isolated environment next to your OS. n8n will be operating in this container. Type in “sudo pacman -Syu podman podman-compose” into the Konsole to install podman. This will install podman engine along with podman-compose.
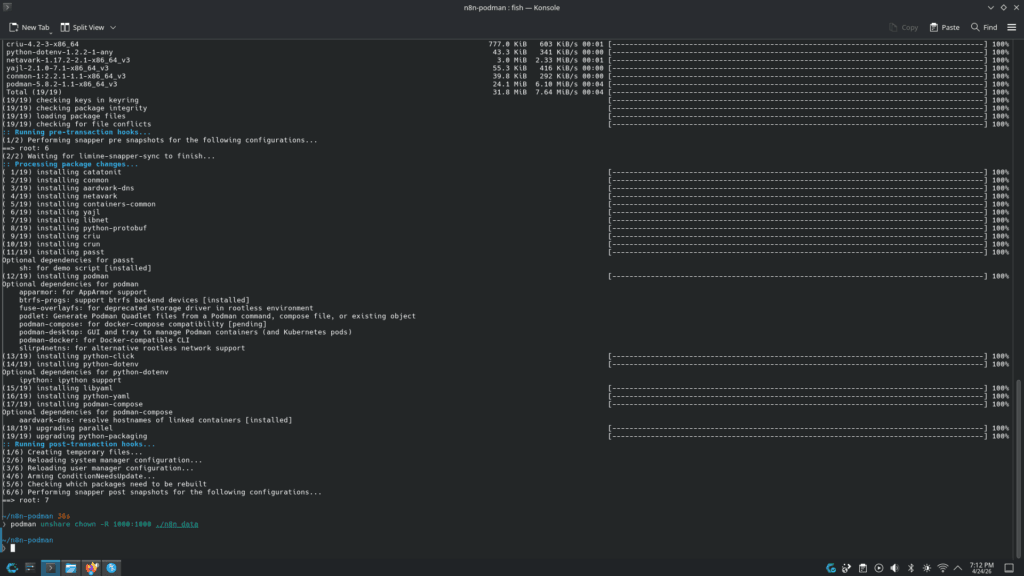
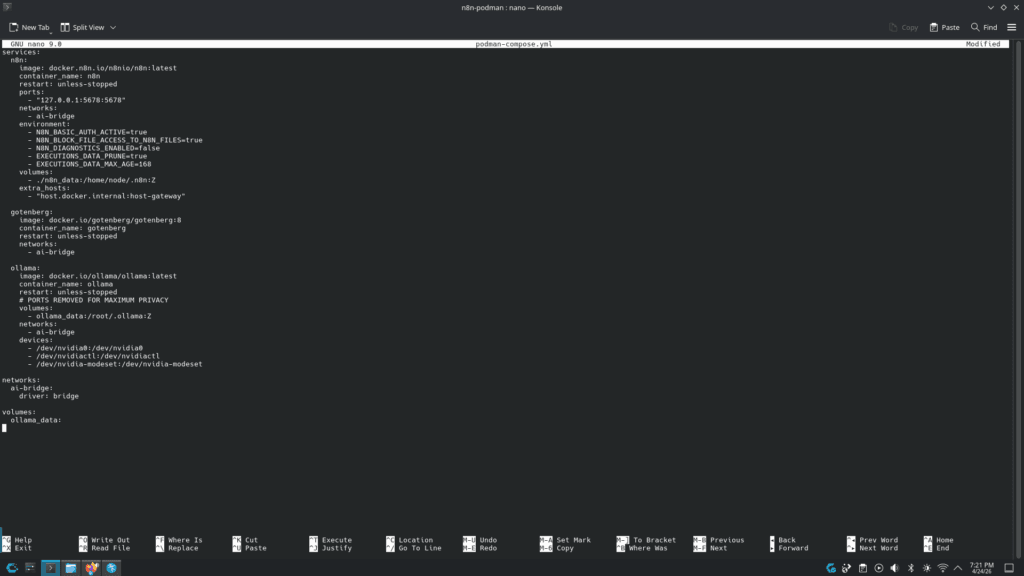
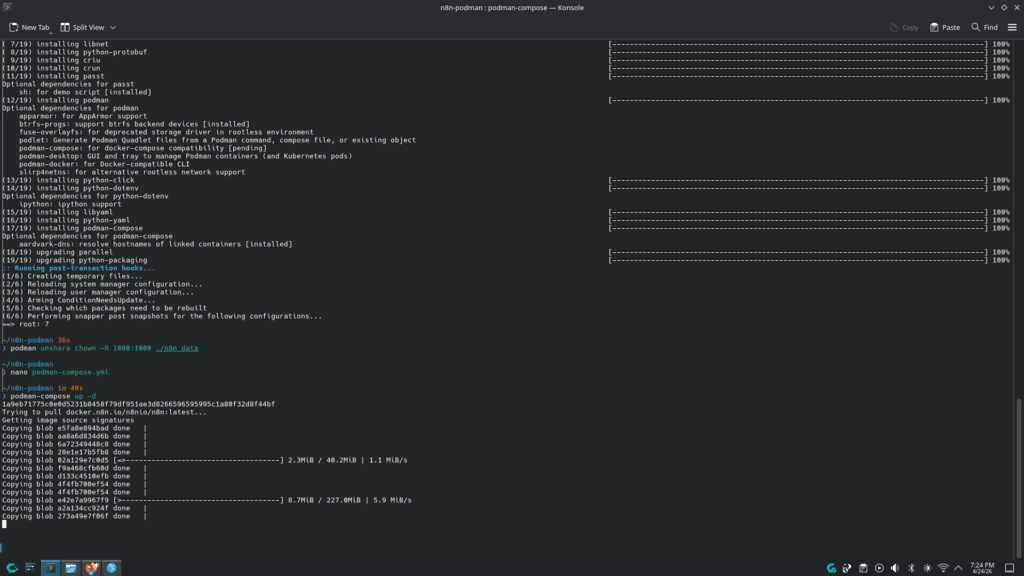
Use podman to unshare n8n folder by entering this into the Konsole “podman unshare chown -R 1000:1000 ./n8n_data”. This gives n8n permission to write to the n8n_data folder. Now, we need to open podman-compose.yml and enter the commands we want it to execute. Type in podman-compose.yml into the Konsole and enter. It will open a blank page where we can input our commands. I’ll show mine below.
services:
  n8n:
    image: docker.n8n.io/n8nio/n8n:latest
    container_name: n8n
    restart: unless-stopped
    ports:
      - "127.0.0.1:5678:5678"
    networks:
      - ai-bridge
    environment:
      - N8N_BASIC_AUTH_ACTIVE=true
      - N8N_BLOCK_FILE_ACCESS_TO_N8N_FILES=true
      - N8N_DIAGNOSTICS_ENABLED=false
      - EXECUTIONS_DATA_PRUNE=true
      - EXECUTIONS_DATA_MAX_AGE=168
    volumes:
      - ./n8n_data:/home/node/.n8n:Z
    extra_hosts:
      - "host.docker.internal:host-gateway"

  gotenberg:
    image: docker.io/gotenberg/gotenberg:8
    container_name: gotenberg
    restart: unless-stopped
    networks:
      - ai-bridge

  ollama:
    image: docker.io/ollama/ollama:latest
    container_name: ollama
    restart: unless-stopped
    # PORTS REMOVED FOR MAXIMUM PRIVACY
    volumes:
      - ollama_data:/root/.ollama:Z
    networks:
      - ai-bridge
    devices:
      - /dev/nvidia0:/dev/nvidia0
      - /dev/nvidiactl:/dev/nvidiactl
      - /dev/nvidia-modeset:/dev/nvidia-modeset

networks:
  ai-bridge:
    driver: bridge

volumes:
  ollama_data:
This part is very important. If we configure it incorrectly, there will be a security risk. Type and enter all the commands you would like to execute. I have set the ports for n8n to my local host, which is at 127.0.0.1:5678:5678, to only communicate with my computer. I have also included a network bridge to bridge the other two services to my n8n so that they can all communicate with each other within an isolated environment.
Gotenberg provides offline HTML to PDF conversion. Ollama is necessary only when you wish to employ an offline LLM beyond well-known options such as OpenAI. I suggest keeping Ollama if you wish to utilize Gwen.
Below is a quick list of summaries on how to install n8n on CachyOS:
~ FOR PODMAN CONFIGURATION ~

1. mkdir ~/n8n-podman && cd ~/n8n-podman
2. mkdir n8n_data
3. install podman using pacman [sudo pacman -Syu podman podman-compose]
4. podman unshare chown -R 1000:1000 ./n8n_data
5. nano podman-compose.yml
6. podman-compose up -d
7. podman-compose start (start up n8n if the server is down)